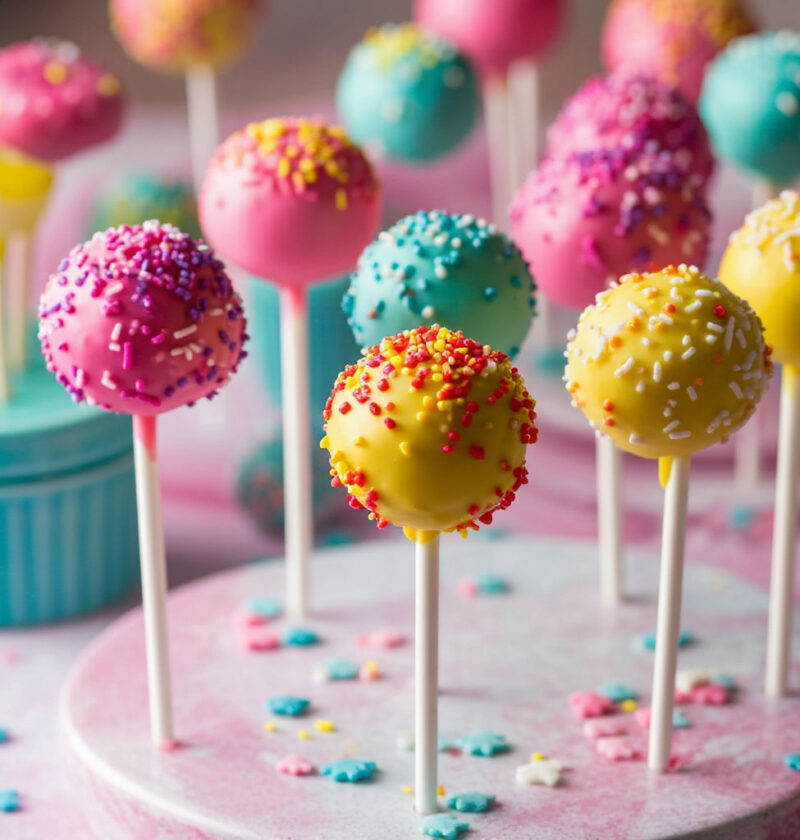
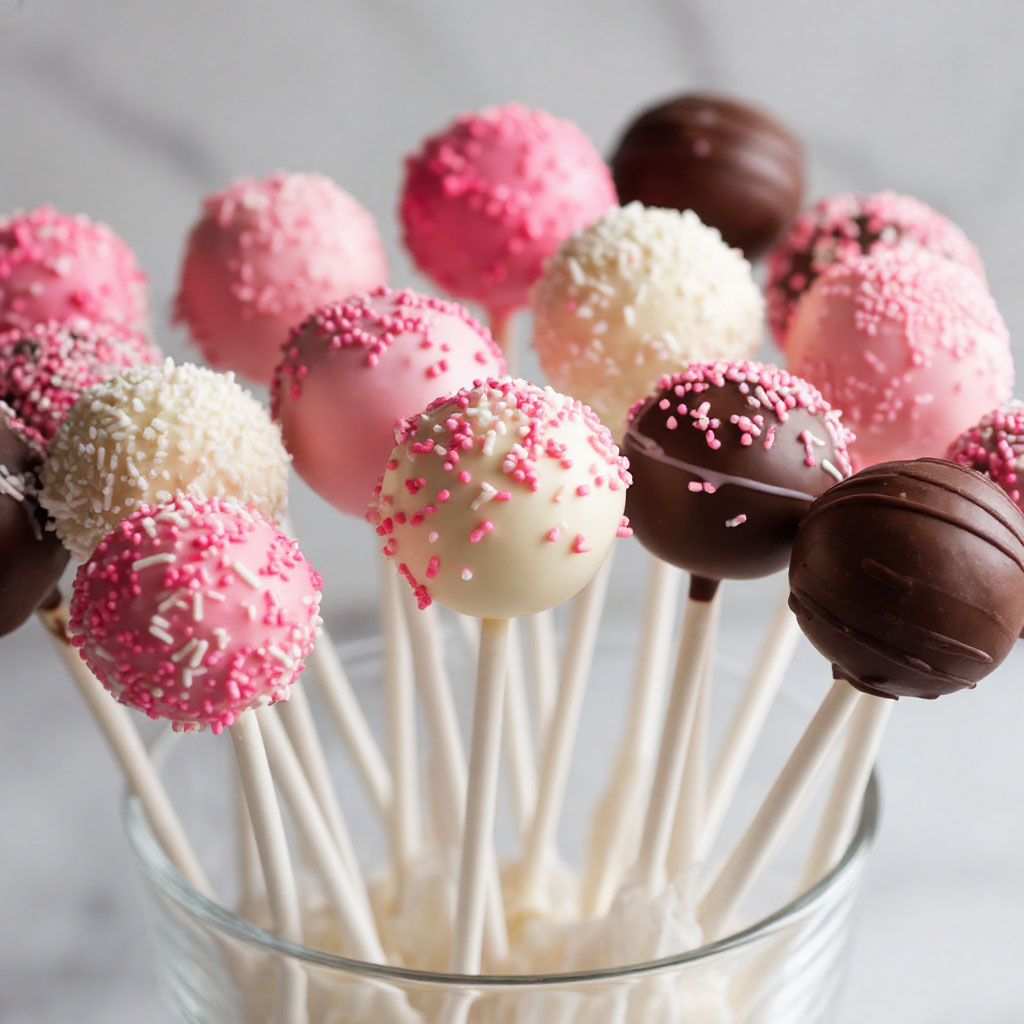
Do you enjoy cooking sweet treats together with your children? Then this recipe is just for you! We present to your attention brightly colored cake pops that are sure to impress little gourmets. After all, who would refuse tempting sweets in vibrant colors?
These cake pops that kids will love make an excellent choice for any children’s celebration—be it a birthday party or thematic event. And the best part is that preparing them turns into an engaging activity that brings joy and pleasure to the whole family!
Why do children adore colorful cake pops?
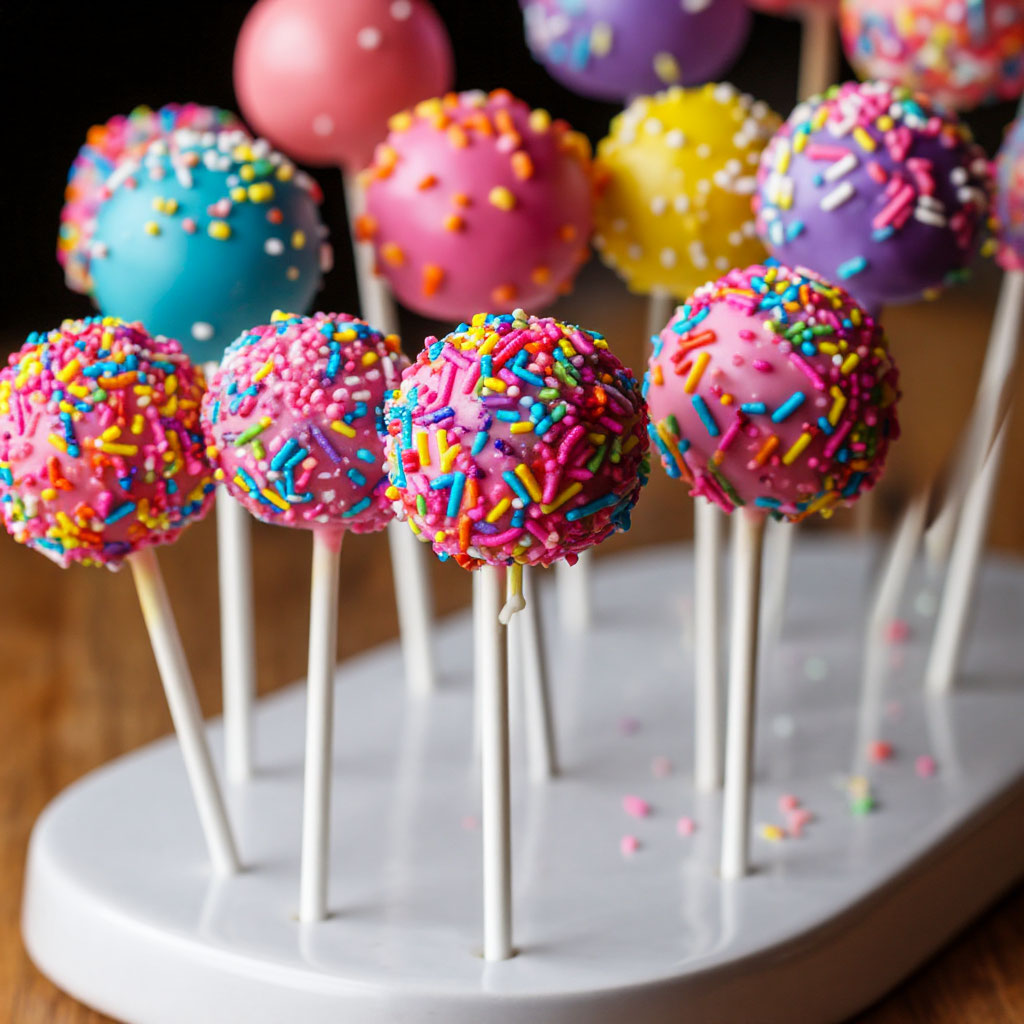
Children love bright colors, especially when it comes to desserts. That’s why it’s no surprise that colorful cake pops delight youngsters of all ages. They look so beautiful, cheerful, and attractive that even the pickiest child can’t resist trying at least one bite.
Advantages of making them with children
Baking together is a great way to spend time with your little ones. It helps develop their creativity, improves hand motor skills, and teaches responsibility. So baking with kids provides both benefits and enjoyment simultaneously.
Moreover, creating your own confectionery items helps children better understand food preparation processes and form a healthy attitude towards eating. But most importantly—it’s fun and delicious!
Main ingredients for cake pops that kids will love
Start by preparing dough according to your favorite chocolate or vanilla sponge cake recipe. If you’d like more flavor, try experimenting with flavors such as strawberry, cherry, or caramel. Use food coloring to give each piece its unique hue.
Here is the list of main ingredients:
- All-purpose flour — 2 cups
- Granulated sugar — 1 cup
- Chicken eggs — 3 pieces
- Softened butter — ½ cup
- Whole milk — ¾ cup
- Baking powder — 1 teaspoon
- Vanilla extract — 1 teaspoon
- Milk or white chocolate — 200 grams
- Liquid or gel food colorings — several drops per colorOptional decorations: candies or M&M’s
How to prepare colorful cake pops that kids will love
The process is quite simple and takes only a couple of hours. The key is following the sequence of actions and monitoring oven temperature. Let’s break down every step:
Bake the base
Preheat the oven to 180°C. Beat softened butter with sugar until creamy, add eggs and mix again using a mixer until smooth. Gradually incorporate flour, milk, and other dry ingredients, stirring gently with a spatula. The batter should be smooth and elastic.
Pour the mixture into a baking pan approximately 20×20 cm and bake in preheated oven for 25–30 minutes. Check readiness with a wooden skewer—it should come out clean.
Shape balls
Allow the baked cake to cool completely before crumbling it either manually or using a blender. Add melted chocolate, mix well, then shape small balls about 2 centimeters in diameter each. Place prepared shapes in refrigerator for minimum half an hour to harden.
Coat with glaze
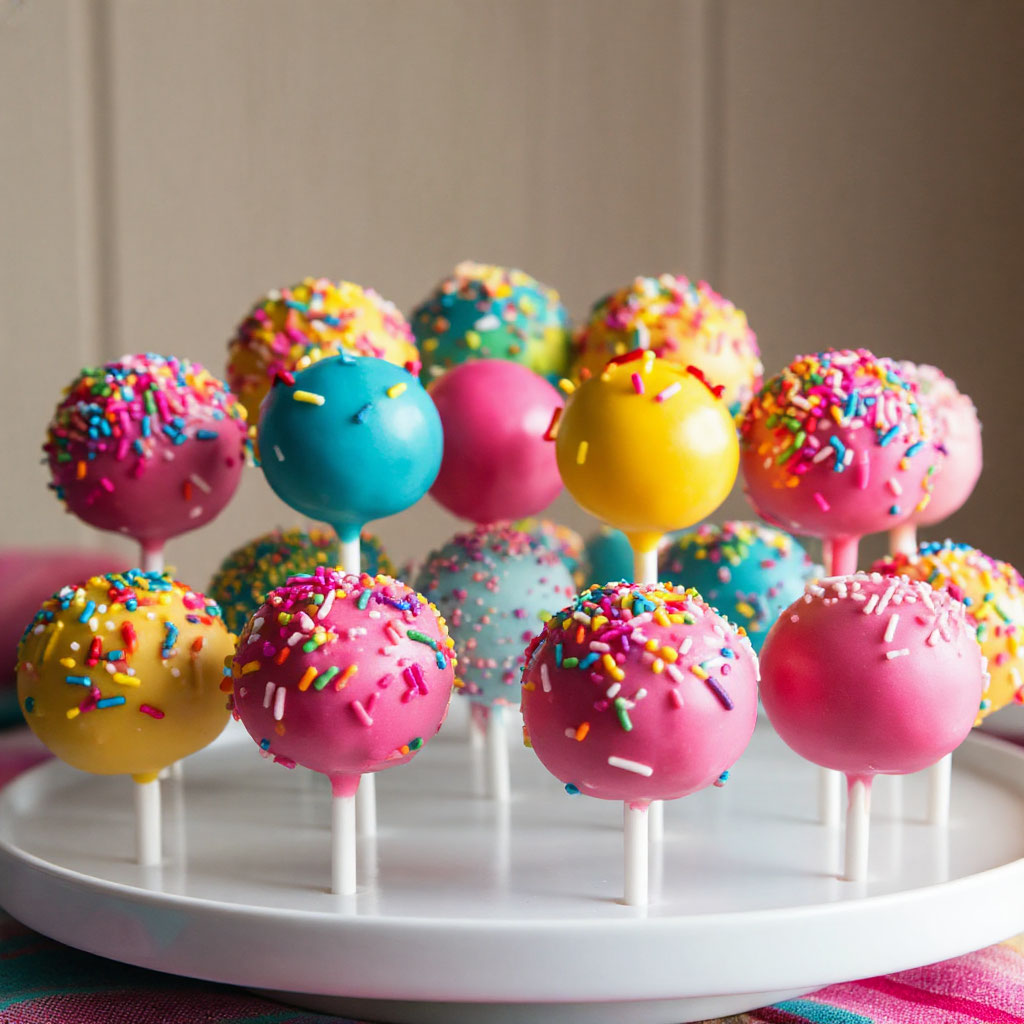
Melt remaining chocolate over double boiler or microwave in short bursts of 15 seconds, stirring after each pause. Dip cooled ball bases directly into the melted chocolate coating. You can immediately top each stick with candy sprinkles if desired. Let set upright on a stand with sticks facing up.
A simpler base for making colorful cake pops loved by children
If there isn’t enough time to bake sponge cake from scratch, simplify the process. For making these colored cake pops, you’ll need:
- Ready-made cookies or ready-baked sponge cake — 200 grams
- Store-bought chocolate or chocolate glaze — 200 grams
- Softened butter — 70 grams
- Honey or condensed milk (for extra sweetness and aroma)—1 tablespoon (optional)
- Cocoa powder (for additional taste)—1 teaspoon (optional)
Cut cookie pieces into smaller bits or use homemade sponge cake. Cut out centers using round spoon or special tools designed for shaping balls.
Important note: Cookies must be fresh and soft to easily mold into balls.
Place chopped cookies in bowl and crush them thoroughly with hands or spoon until fine crumbs form. Melt chocolate over water bath or microwave in quick intervals of 15 seconds, mixing between breaks.
Stir in softened butter and honey/condensed milk continuously until the mass becomes smooth and silky.
Gradually introduce the chocolate mixture into the crushed cookie dish while constantly stirring until obtaining a workable consistency. The mixture should become sticky but not liquid. Optionally, add cocoa powder to enhance chocolate flavor and change color.
Shaping balls follows previous steps described above.
Decoration tips: colorful cake pops that kids will love
Your cake pops that kids will love will definitely impress your child if decorated beautifully.
Beginner-friendly decoration ideas include
White Chocolate Stripes: Melt white chocolate over hot water and apply thin lines or dots using pastry syringes. White chocolate pairs excellently with almost any glaze color.
Chocolate Striping: Separately melt dark and milk chocolate, carefully applying stripes over each other to create a simple yet elegant design.
Sprinkles: Sprinkle surface with tiny colorful confetti or candy sprinkles. This adds festive appearance and variety of tastes.
Small Decorations: Use small fruit slices, berries, coconut flakes, or nuts mixed within the main mixture or added on top later.
Mirror Glaze: To achieve mirror-like finish, combine gelatin cream and chocolate, adding shimmer pigment. This technique gives cake pops shine and depth.
Decorative Sticks: Attach paper flags or ribbons onto wooden sticks, cut-out heart-shaped designs, stars, etc., enhancing visual appeal.
Creative techniques and decorating styles
Ombre Effect: Blend two shades of glaze gradually transitioning through different hues. Start covering one side first, then smoothly move toward another shade overlapping slightly.
Flower Prints: Print flower stencils and place them over surfaces prior to glazing. Once dried, embellish with marzipan petals or leaves.
Rainbow Topping: Cover tops with narrow strips of multicolored layers starting from bottom upward creating gradient effect.
Golden Accents: Using specialized gold edible paint, draw delicate golden outlines along edges. This enhances elegance and creates sophistication.
Jewels & Pearls: Affix miniature culinary beads or artificial gems mimicking precious stones. Such decor looks stylish and draws attention.
Drawings on Chocolate: Utilize specific edible ink pens to sketch designs on finished coatings. Stars, hearts, messages transform creations into personalized masterpieces.
Safety precautions when involving children in kitchen activities
Cooking desserts alongside your child requires certain safety measures. Always monitor stove temperatures and ensure that the young chef stays away from hot surfaces. It’s best to assign tasks unrelated to sharp objects or open flames.
For example, let your kid decorate already shaped balls or simply add finishing touches. That way, they feel fully involved in the process while allowing you peacefully manage core stages of preparation.
Takeaway fact: Numerous studies conducted across various periods have consistently shown that most children prefer vividly-colored desserts compared to traditional plain white or brown options. Over half surveyed said they’d want to recreate similar experiences at home.
So go ahead confidently and start crafting your very own masterpieces together with your kids. Trust us—the results will satisfy everyone participating in the event!
Now you know how easy and fast it is to create amazing colored cake pops. These little wonders will grace any table and bring joy to children. Cook with pleasure, share your achievements, and find inspiration daily!
We’ve explored in detail the process of making wonderful cake pops perfect for joint creative endeavors between parents and children. Now you’re equipped to surprise your loved ones with unusual homemade desserts and derive satisfaction from shared efforts.